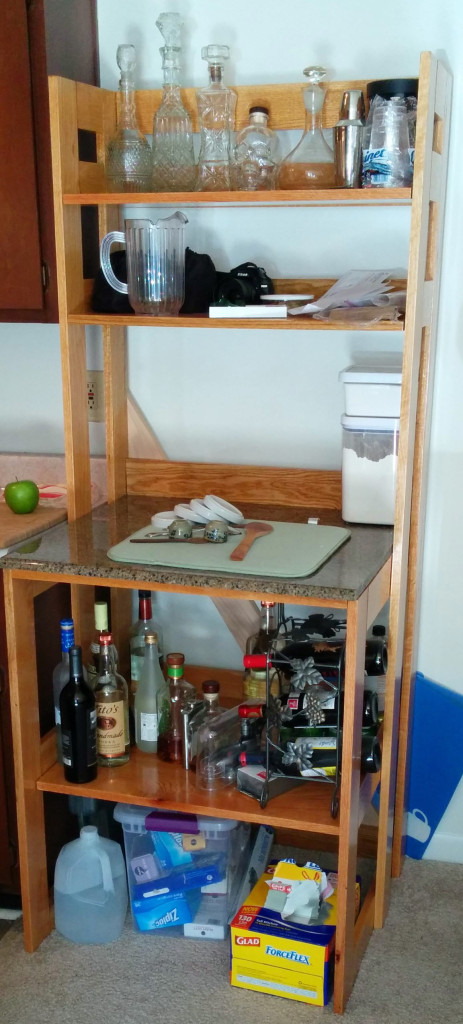
A while back, I discovered I needed more shelving and counter top space in my kitchen, so I decided to build what you see to the right. The hutch is made of “natural”-stained red oak sanded to 600 grit with 4-5 layers of polyurethane depending on the piece. The counter top is made of manufactured granite which is really just polished concrete. The wood structure is held together with dowels and wood glue.
Lessons #1 and #2
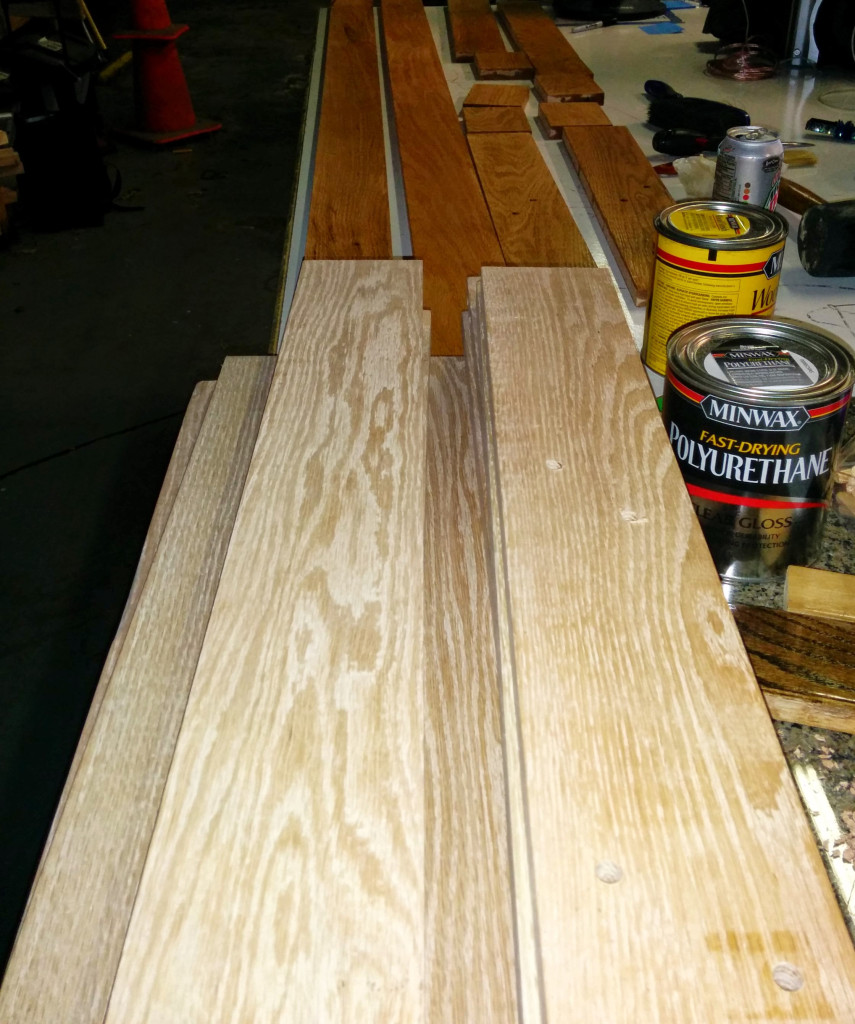
Here you can see the coat of stain being applied with the sanded wood in the foreground and the stained wood in the background. You can’t see it in the pictures below, but the cuts made in the boards actually twisted and bowed along the length of the cut due to the use of a non-carbide blade. Carbide blades are apparently necessary for working with hardwood. Fortunately, this lesson learned was non-critical and could be mostly ignored with a little sanding. This also resulted in slight differences in the lengths of the finished boards which I’ll talk more about later.
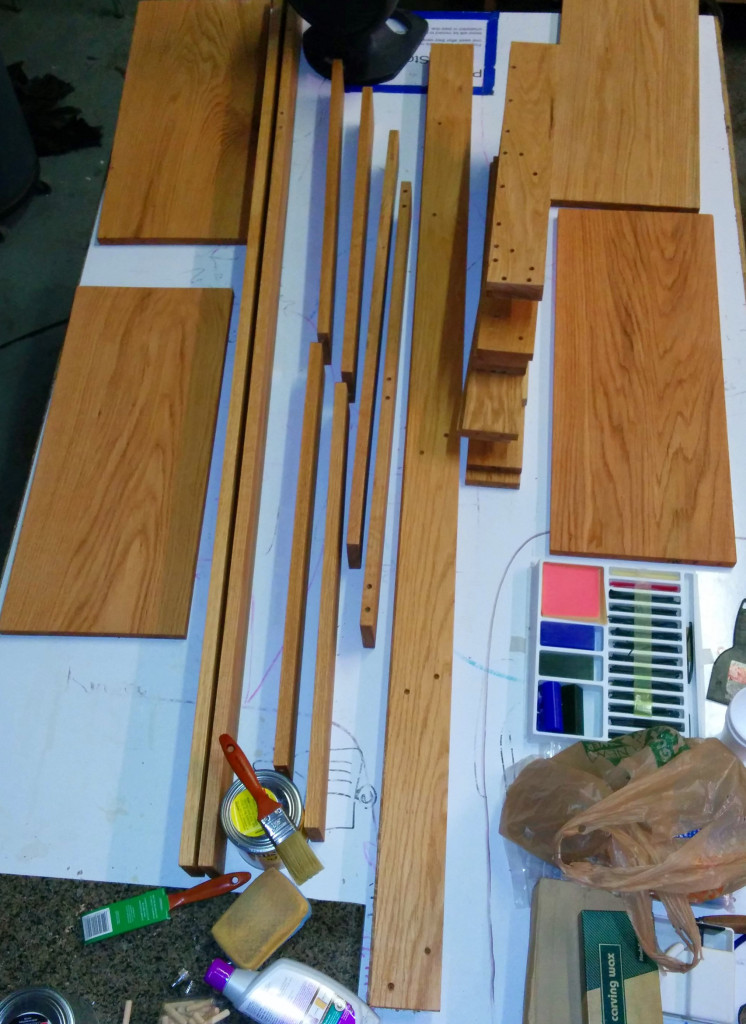
The first post-stain coat of polyurethane is where the second mistake lesson occurred. I did not allow proper drying time for the coat of stain before applying the first coat of polyurethane. This resulted in a partial mixing of polyurethane and stain which caused a 2 week drying time (read: delay) before I could do any additional work.
Getting the Sides Together

Four more coats of polyurethane later with a rubber mallet and a little elbow grease, I got the sides together. There wasn’t much to learn here since I did some match drilling early in the process to ensure that this came out properly.
The Final Lessons
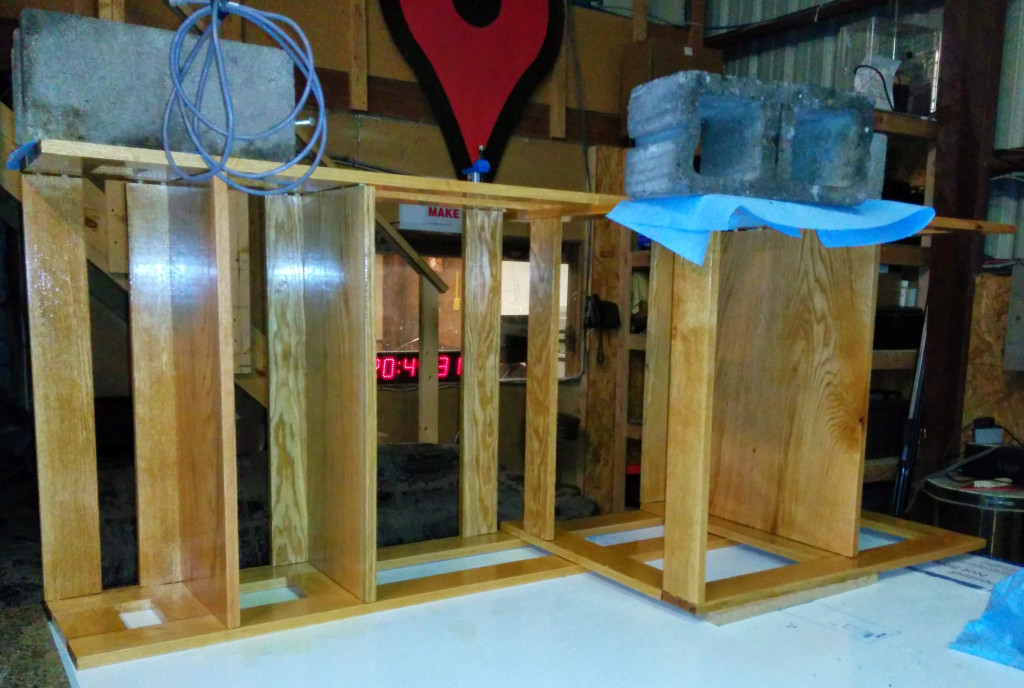
Here you can see the final assembly clamped and weighted while left to dry overnight. What you can’t see are the innumerable gaps in the construction due to Lesson #1 and Lesson #3 – doweled joints require proper jigs to ensure a correct fit. Before assembly, several dowel holes had to be adjusted to get the 1″x12″ oak planks serving as shelves to fit properly. Some had to be entirely redrilled which I was fortunate enough to be able to hide.
Lesson #4 was an issue with the design itself which I created. If Lessons 1 through 3 had not come into play, Lesson #4 would not have been as much of an issue. Gluing all the center board joints together at once was not the brightest of ideas since some of them needed adjustment and encouragement to fit properly.
Due to these learning experiences, my next woodworking project should come out a bit better.