A while back, I decided I’d had enough of the 3+ USB-attached hard drives I had connected to my primary desktop at home and that it was time I consolidated my digital storage capabilities into one, easily accessible location. It was time for a dedicated network attached storage (NAS) box. Naturally, I figured I’d use mostly parts I already had available and throw one together myself. I’m pretty utilitarian, so this ended up being the epitome of “beige box”. The only things I ended up purchasing for this project are the drives, drive cage, handles, clasps, and some #6-32×3/4″ screws to hold the drive cage and power supply in place. Everything else was something I already had, a donation from someone who wasn’t using an item and never planned to, or scrap material.
Here’s a shot of the NAS as ready to be used:

Here’s another shot of it opened up and ready for swapping things around:
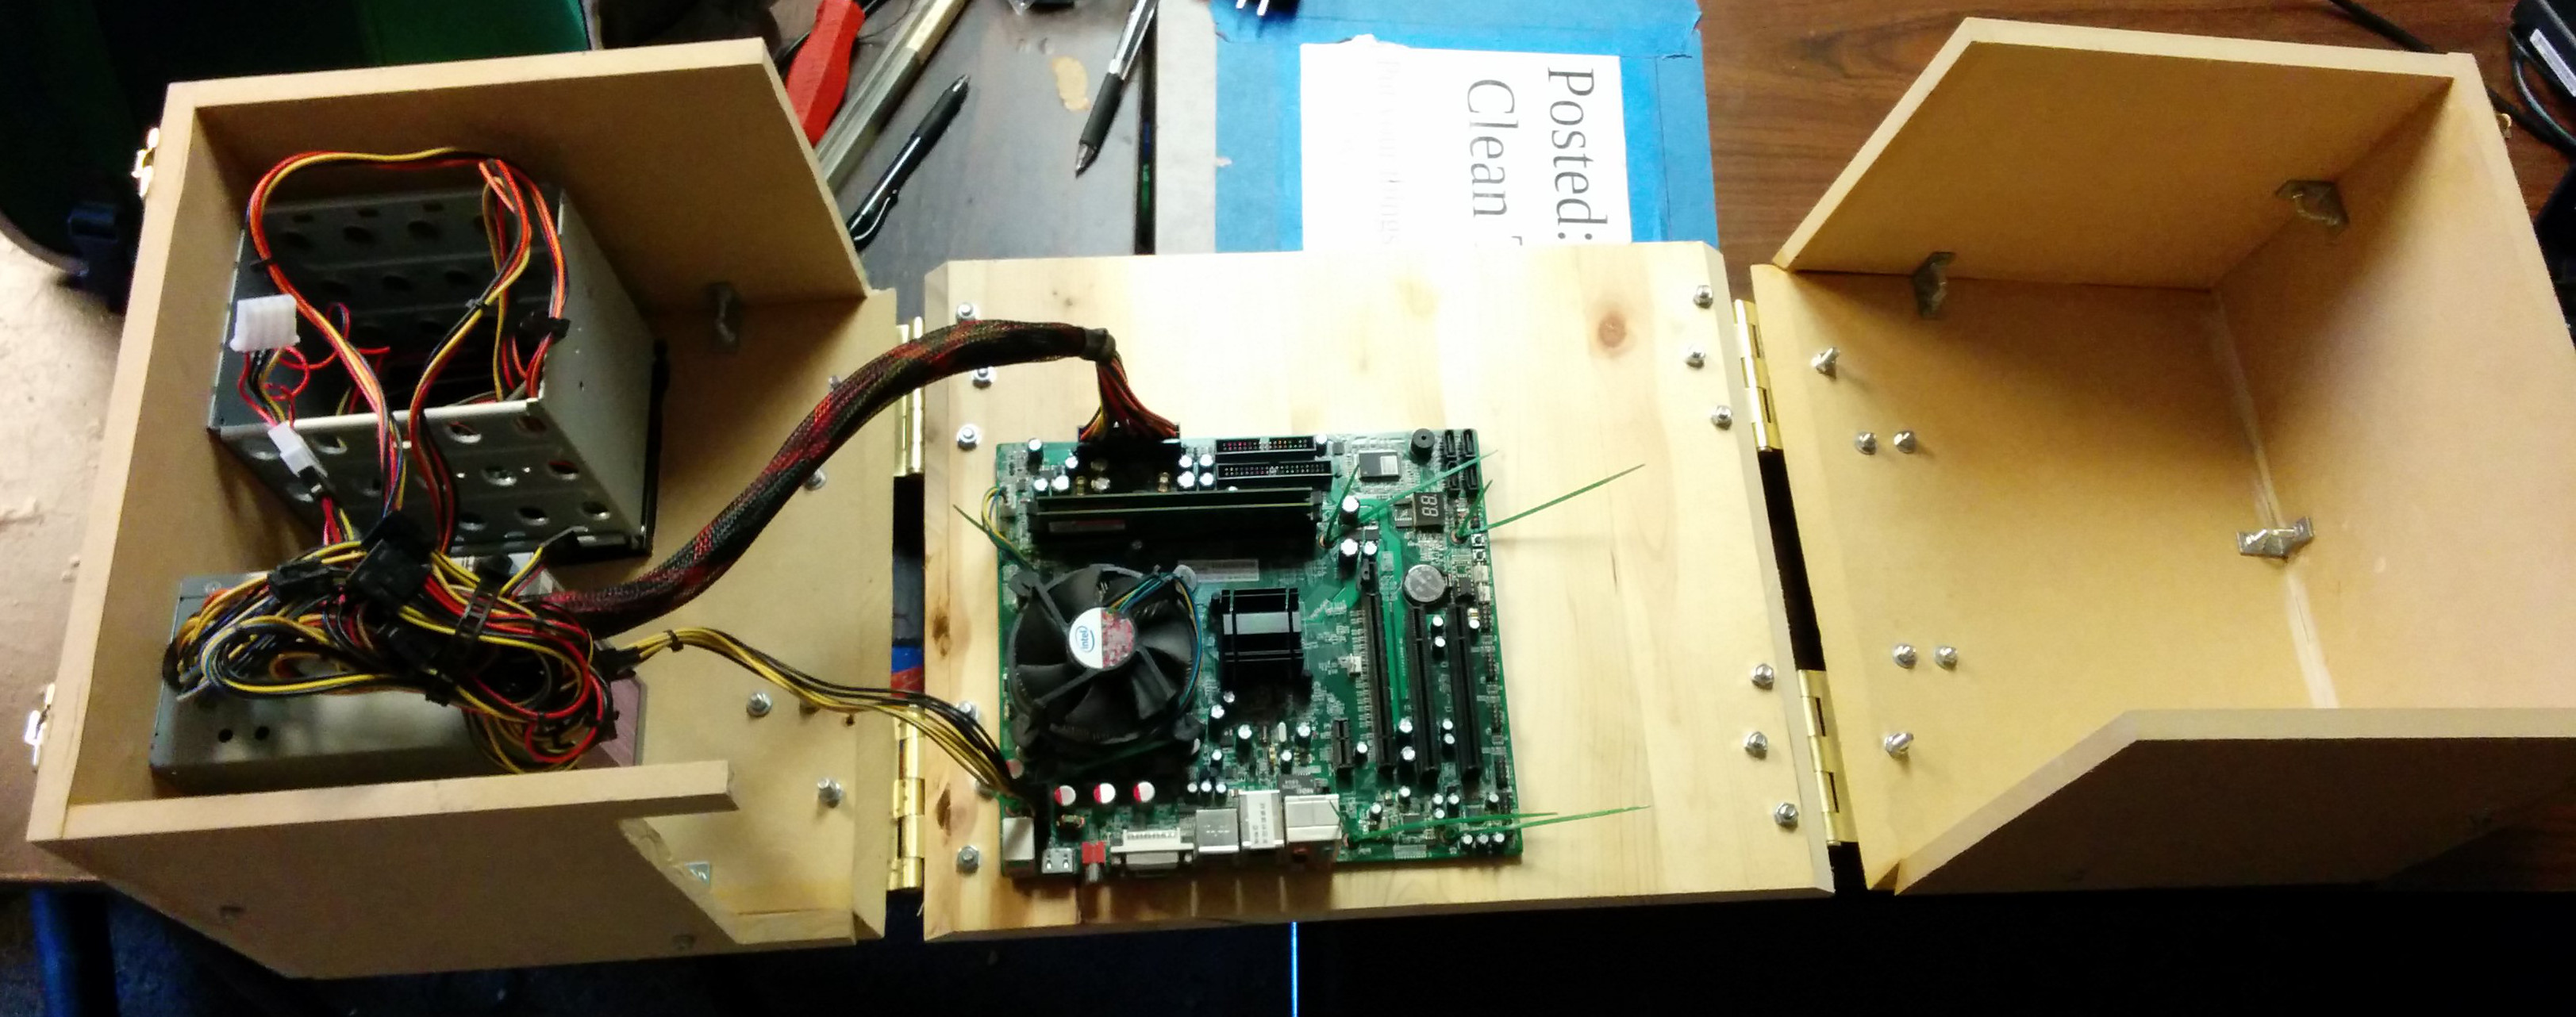
As you can see above, one side of it is still completely empty. In the unused side, there is space for at least two more four-drive cages just like the one I already have installed. Filling out those two spots would give me space for 12 drives total which would require a SATA or RAID card since the board itself can only handle five internal drives.
This ended up taking far longer than it really should have and I swear I will never attempt to make 45 degree edge cuts on MDF ever again without the proper tools being setup the correct way and only when absolutely necessary.
Case Materials:
- Scrap 1/2″ MDF
- 4 brass door hinges
- 10 angle brackets
- 2 handles
- Plenty of Titebond wood glue
- 2 chest latches
- 6 #6-32×3/4″ screws (drive cage/power supply)
- 8 #8 bolts/nuts/washers (handles)
- 16 M6 bolts/nuts/washers (hinge mounting)
- 20 M5 bolts/nuts/washers (panel-panel attachment)
- 12 zip ties (motherboard)