You can check out videos of the yarn dying process here.
Credits: Jonica had the original idea, Kirstin pushed the organization, Shae was entertaining, and Jennifer documented the whole thing.

During the week after our original idea to dye yarn, Shae purchased Jacquard acid dyes and undyed yarn. Kirstin purchased a stainless steel pot for dyeing along with white vinegar and filter masks. Kirstin did all of the research on required ingredients listed above, and what types of dyes should be used on a type of fiber. We decided to use acid dyes on protein based fibers, since that meant we could work with our most familiar and accessible material, animal fiber yarn. Acid dyes can be damaging when inhaled or absorbed through the mucus membranes; fortunately, Kirstin is also a lab tech in her day job, her expertise kept us safe during the process.

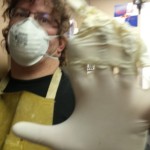
We assembled Saturday March 28th with the expectation that we would make mistakes and learn. After we carefully applied our safety equipment…
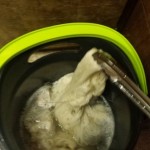
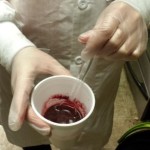
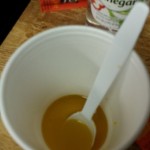
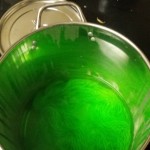
…Kirstin started with red dye and a small skein of alpaca yarn. We dumped the yarn into the pot, heated the water to a simmer, turned off the heat, and applied dye. We waited 30 minutes for the dye to set, and the resulting red yarn was beautiful!
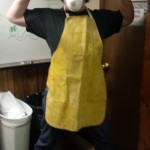
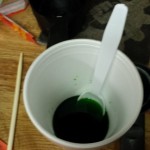
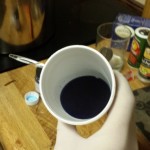
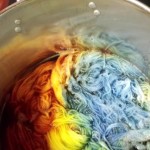
Next, Shae chose blue, Jonica mixed yellow and green, and then we mixed all four colors into a large skein.
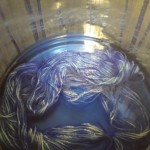
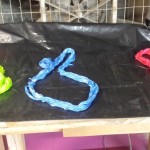
The small skeins were dry a few hours later, but the large skein took most of the weekend to dry.

We made the expected mistakes, and learned much.
1. Get all the yarn into the water with the dye.
2. Make sure the yarn is not tightly clumped together so all the yarn is exposed to the dye. We learned this requires cutting the ties that keep the skein from tangling.
3. An addendum to the second point is, use smaller lengths of yarn.
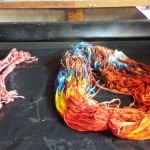
For our next session we’re hoping to re-dye the big chunk of yarn that didn’t get fully colored, and separate
the other large skeins of yarn into smaller skeins for more experiments.
Thanks to Jennifer for doing a great job of documenting and putting together this blog post!