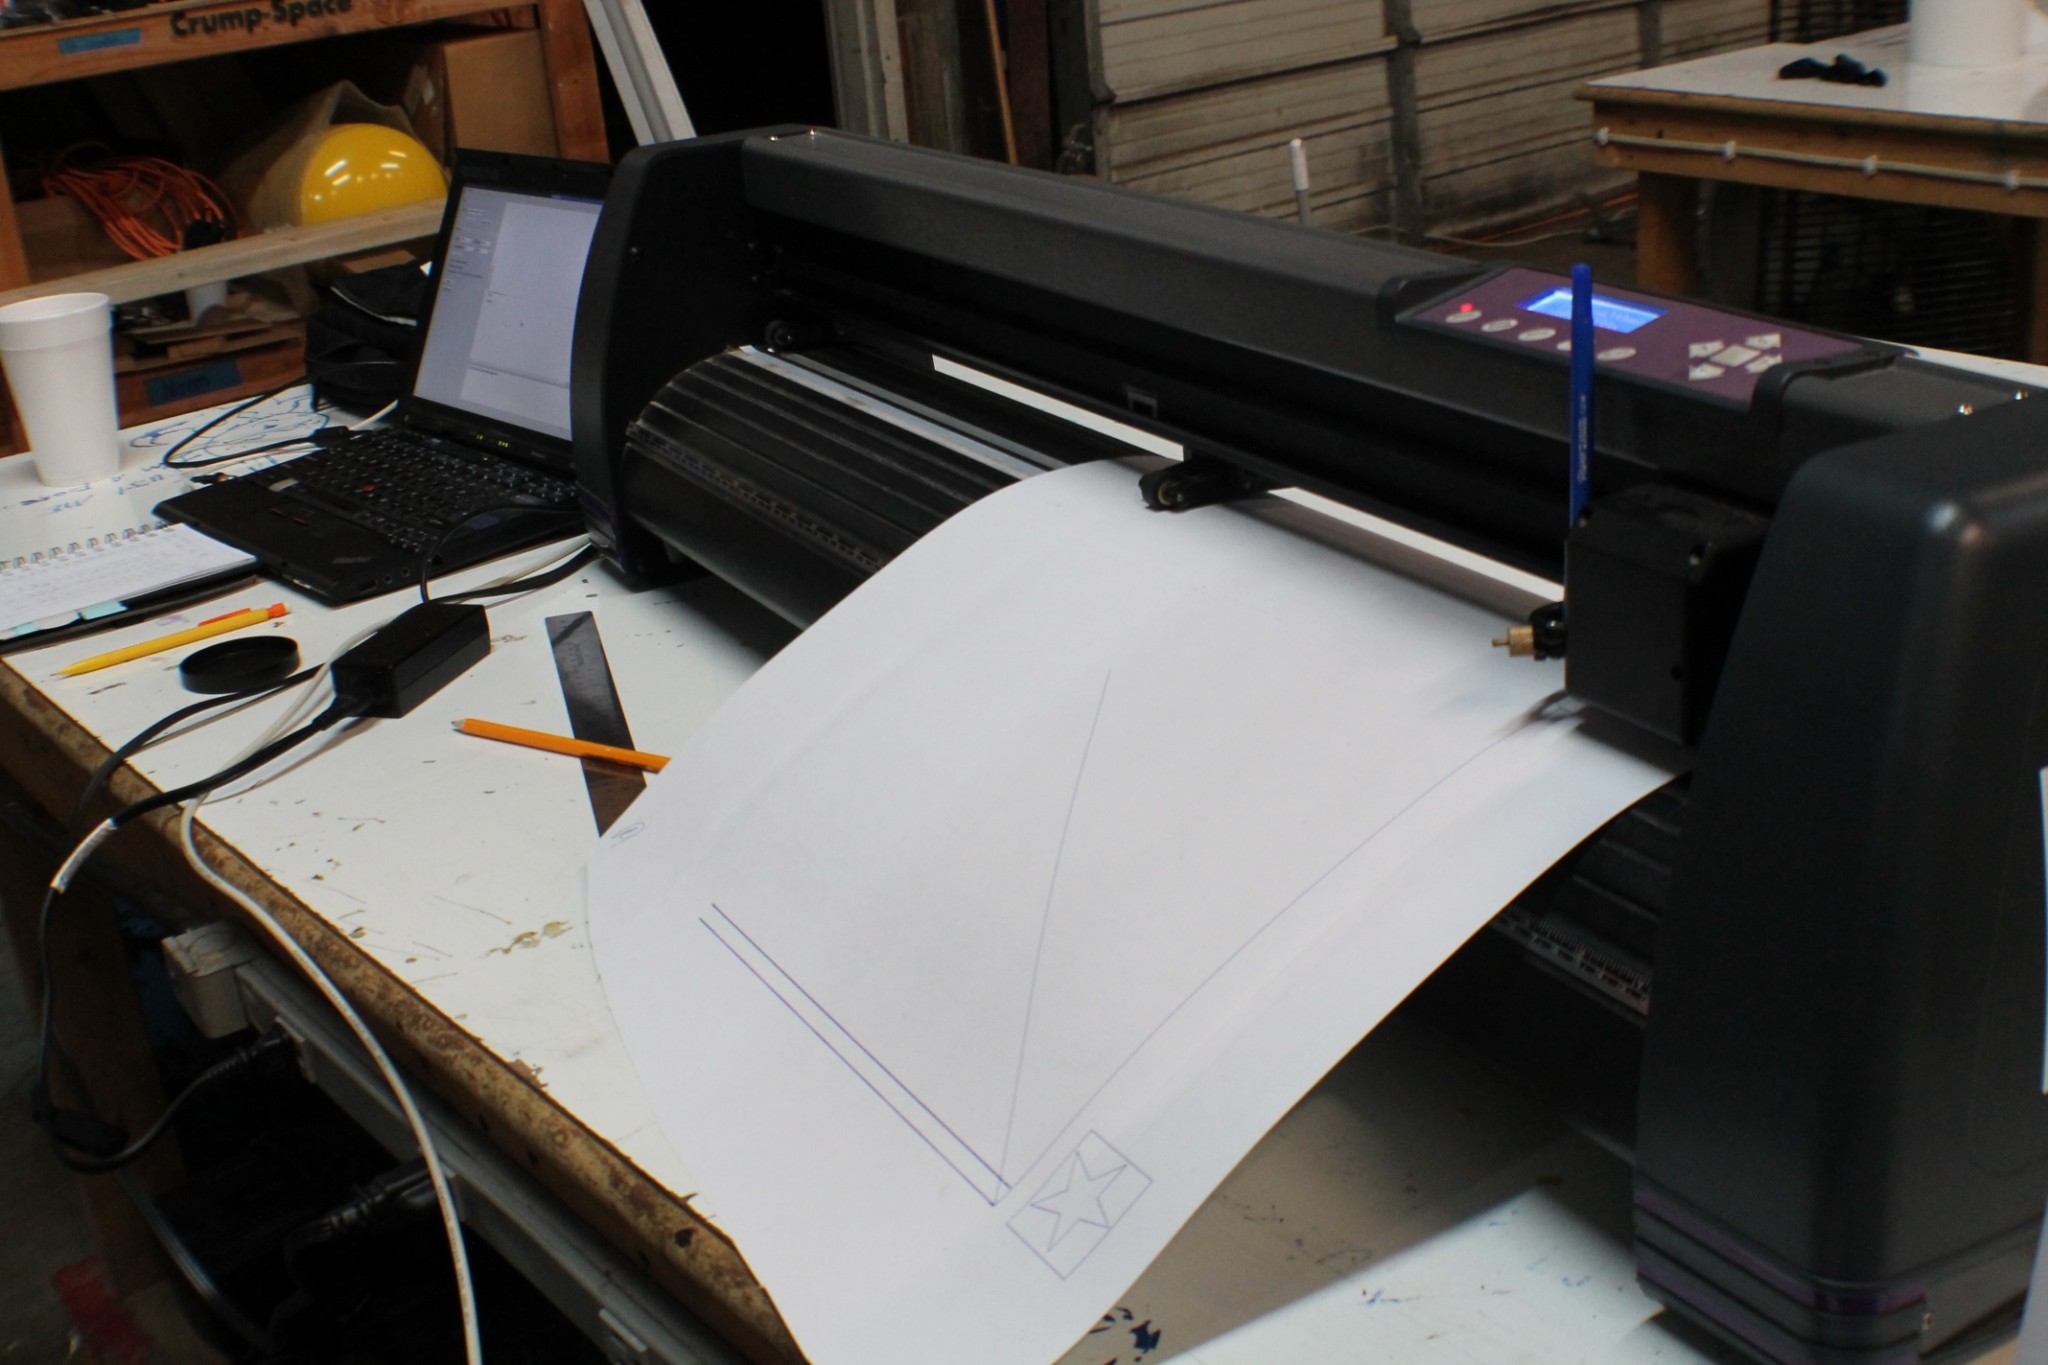
For the past couple of months I’ve been playing around with a personal project to write images to our shop’s vinyl cutter. Recently Travis discovered that if a very large image is sent to the cutter all at once, it will cause a serial buffer overflow and crash the knife.

The natural reaction is to enable flow control (page 15) on the serial device, such that the vinyl cutter can step back from the brink if the buffer fills up. But that doesn’t seem to work for whatever reason — I suspect that my shoddy USB to serial adapter doesn’t support it.

So I made a feature that will take the movement speed of the vinyl cutter, estimate the duration of each line segment’s execution, and then send the serial as smaller chunks in intervals. This does work, but we noticed that the time calculated doesn’t match up with the time it actually takes the vinyl cutter to route a shape. Sometimes it’s off target by up to half a minute… What’s up with that?

Read More →

After over a month of near daily work on the shop’s hallway bathroom, it’s finally done! The room is re-opened and this time (hopefully) leak free.

Making this project happen took a lot of help from the membership. I’d like to offer a huge thank-you to:
– Travis, who dedicated an incredible amount of time and effort to almost every aspect of this job.
– Michelle and Jeff, who donated the new light fixture.
– Daniel, who helped us out of several jams along the way.
– Hunter, who tackled rewiring the mess of a circuit behind the walls.
– Norm, who donated the new countertop and helped us brainstorm.
– Wes, who lent us tools and advice for the drywall work.
– And several other members who stopped by to lend a hand.

Rather than try to create a massive listing of everything we did, you can peruse an image album of the highlights.

Between rigging up a small LED matrix to my member storage and returning my 3D printer + webcam to the shop, the idea of measuring ambient light has come up several times. Finding a photoresistor to do this turned out to be beyond simple: a member gave me one to use. But once the thought had crossed my mind, I wanted to follow through with this LED sensor thing and see if it’s really up to snuff.

First, gotta find out how it all works. Easy: another shop member wrote a library for it. And the library references an Arduino page which describes the operation: Light Emitting Diodes are typically wired to produce light. But, if you attempt to apply reversed voltage, then the LED will reject current (it is a diode after all) and will do something I find pretty cool: it acts as a tiny capacitor. And even cooler: the capacitor’s characteristics will change based on how much light is reaching the LED’s substrate. So this library will “charge” the LED by applying VCC->VSS backwards on the device, and then measure the length of time it takes for the capacitor to discharge (which is dependent on the ambient light). Neat!

Read More →

Way back during the summer we hanged insulation in the fab-lab, making it a more consistent temperature and opening up the way to eventually creating another properly air conditioned space at the shop. Once finished, there was still a pretty large amount of insulation strip left over; it was subsequently buried under a table upstairs.

This past weekend it snowed in Alabama, and I more or less intentionally got snowed in at the shop. During the resulting impromptu movie night, I had a chance to discuss just how damn cold it was with other shop members. We eventually landed on a concern that the shop water heater was left running in near-outdoor temperatures 24/7. Recalling the leftover insulation, we shuffled out of the warm office and began wrapping the magic hot water provider in fiberglass insulation.

First up was to apply a few feet of regular pipe insulation to the copper piping. This is mostly a for-the-hell-of-it measure, since we can’t insulate the hot water pipe already installed in the walls.

Installing pipe insulation on the water heater.

Next we cut squares from the insulation and placed them around the heater core. The system is located poorly in a too-small alcove, so insulation only fit around four of the six sides of the heater.

Ta-Da!
Ta-Da!

Ideally we’d want to create a large blanket around the heater and secure it with twine, but this will hopefully provide us with somewhat better temperature retention anyway.

Next up on the list is installing an electronic timer so that the heater doesn’t spend half of the week creating hot water that no one is around to use.