Make Pumpkin, Thursday Oct 28th
2021-10-08
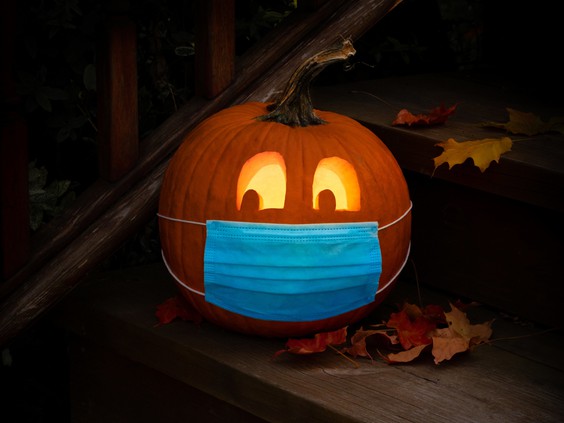
Come carve pumpkins with us at the make shop!
We will have a limited collection of carving tools and stencils, and we’ll provide tea lights for pictures afterwards.
Thursday Oct 28th from 6pm to 9pm.
BYOP