Difference between revisions of "Flag for Makers Local 256"
m |
m (Cosmetic Fix) |
||
| (One intermediate revision by one user not shown) | |||
| Line 7: | Line 7: | ||
==Blog Post== | ==Blog Post== | ||
| − | Here is a link to the [https://256.makerslocal.org/2012/02/15/flag-for-makers-local-256/ blog post] I created for this | + | Here is a link to the [https://256.makerslocal.org/2012/02/15/flag-for-makers-local-256/ blog post] I created for this project. |
==Info About Project== | ==Info About Project== | ||
| Line 25: | Line 25: | ||
[[File:Hanging-in-the-Shop.jpg|thumb|none|300px|Hanging up at the shop]] | [[File:Hanging-in-the-Shop.jpg|thumb|none|300px|Hanging up at the shop]] | ||
| − | I really enjoyed making this flag | + | I really enjoyed making this flag! I hope this wiki page helps you create a flag of your very own!! |
Latest revision as of 23:51, 23 May 2013
|
Creator: |
Blog Post
Here is a link to the blog post I created for this project.
Info About Project
I decided to make a flag for the shop.
I started with 2 yards of a 100% cotton piece of fabric. I sewed the sides of the fabric to the size I wanted the flag to be. I also included a part on the left side of the flag for a pole.
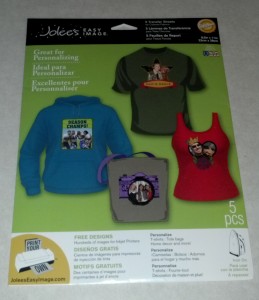
I purchased “Jolee’s Easy Image” iron-on transfer sheets.
I printed my design on the transfer sheets. I then laid the transfer sheets out on the fabric and figured out how I wanted the words positioned. Once I had the final layout, I began ironing the words on.
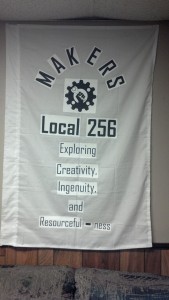
Here is a picture of the flag hanging up at the shop:
I really enjoyed making this flag! I hope this wiki page helps you create a flag of your very own!!

